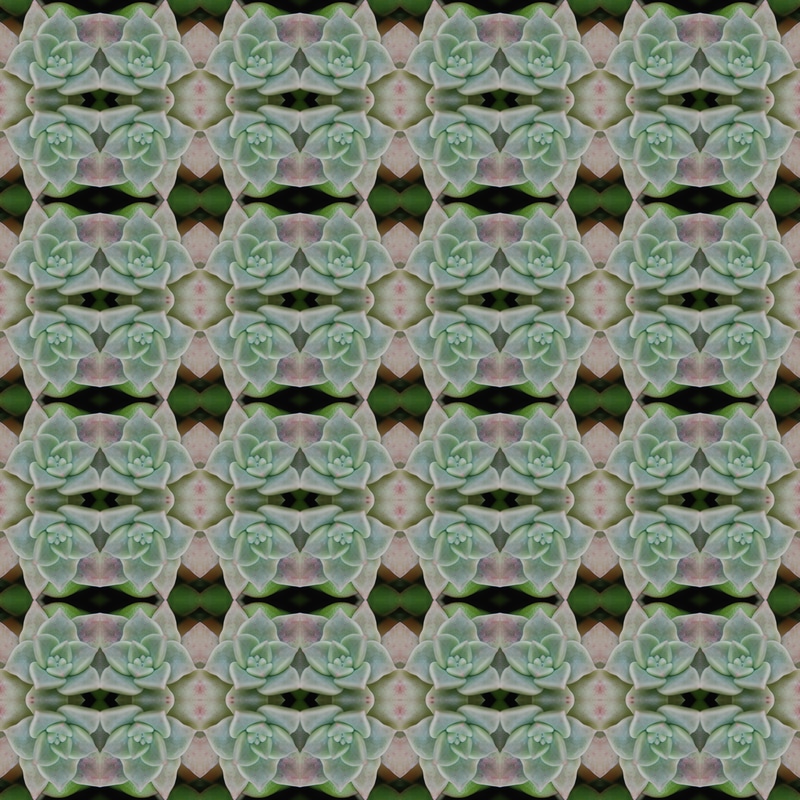
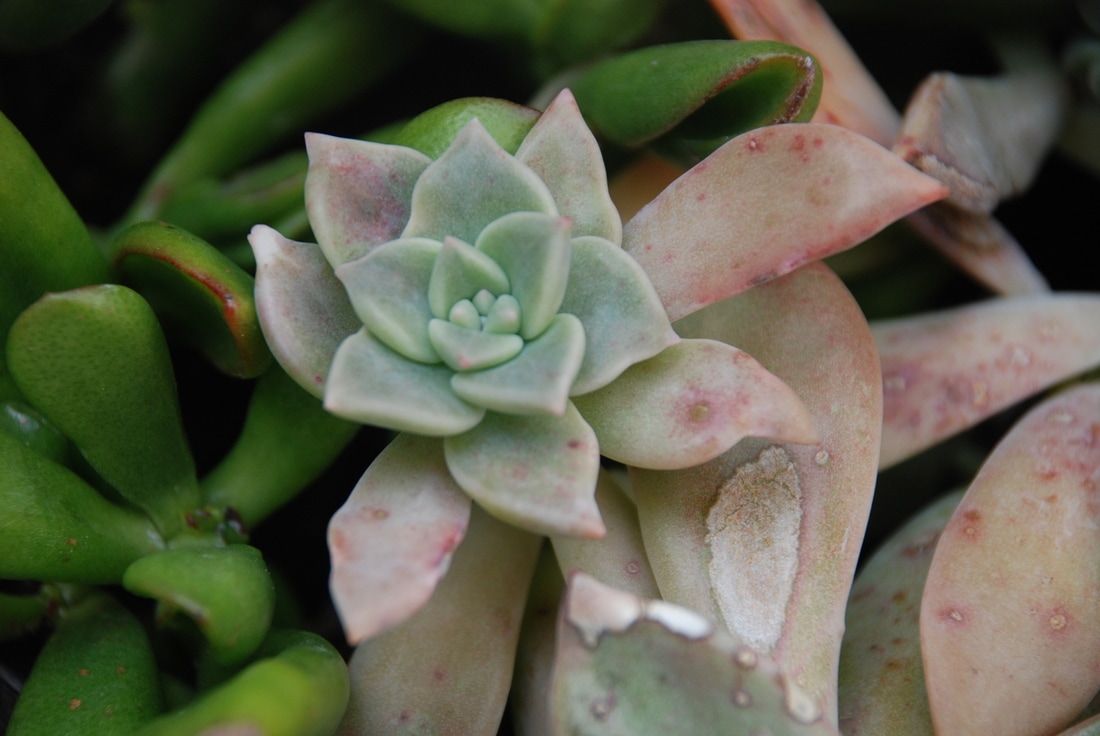
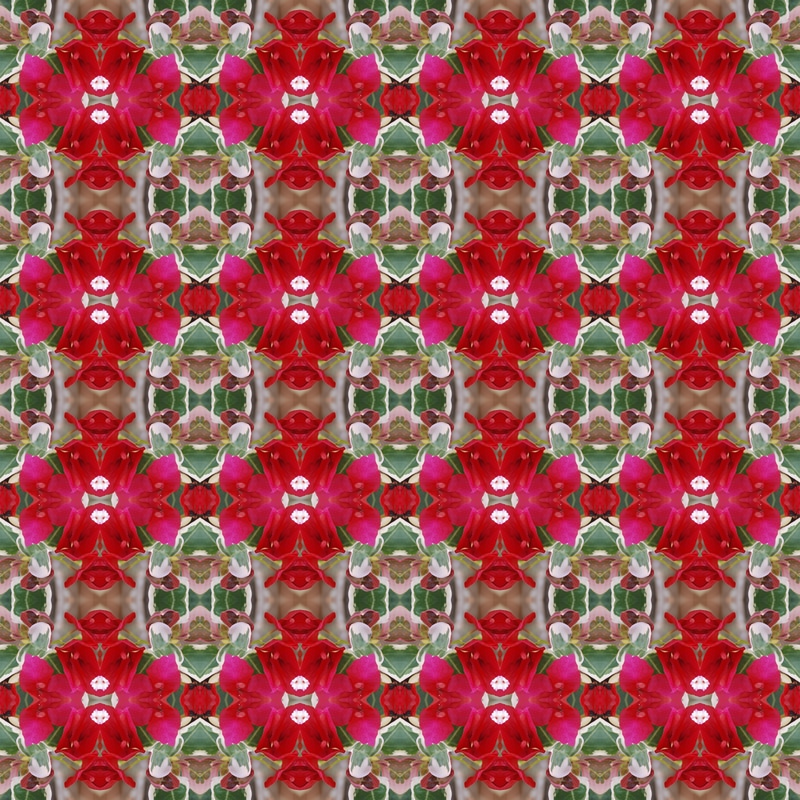
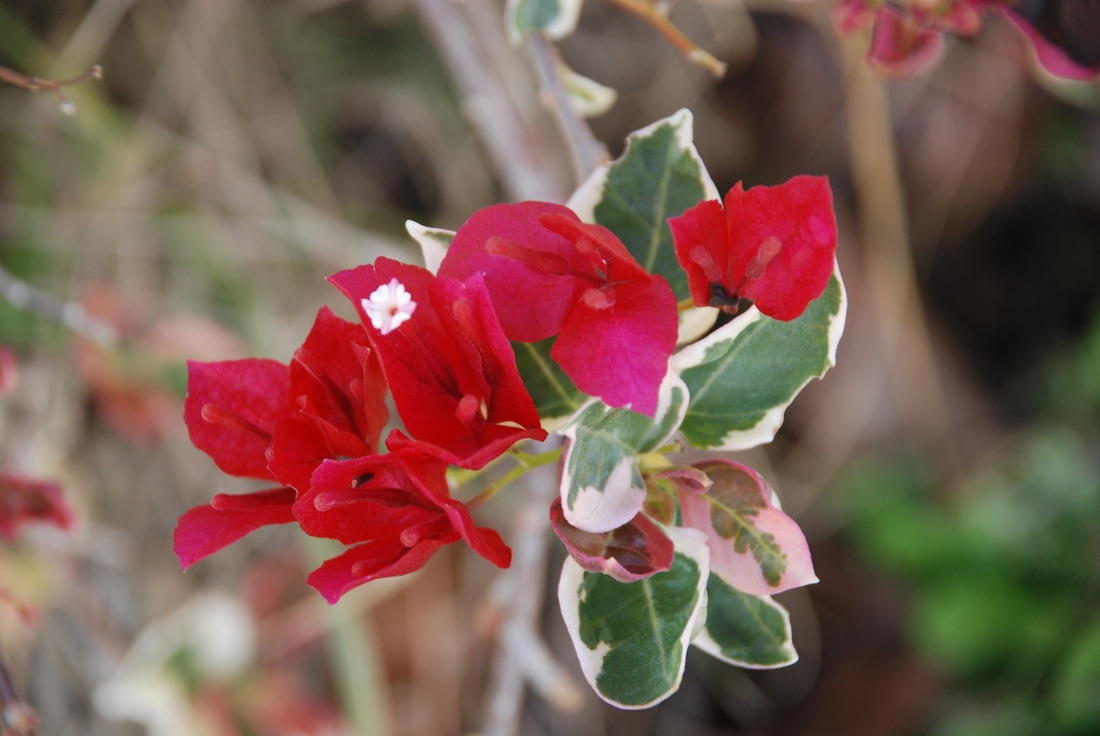
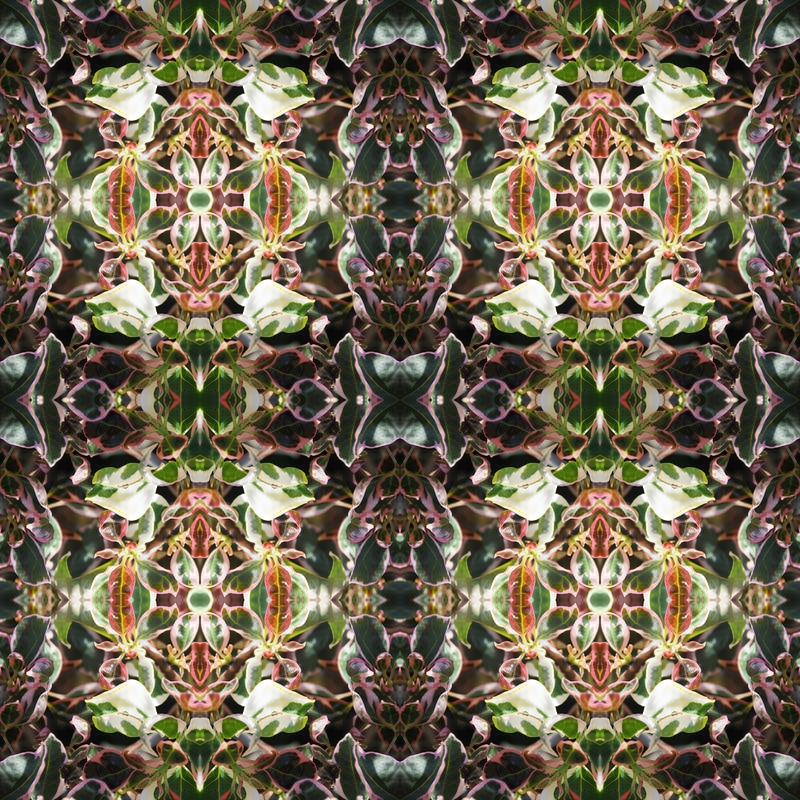
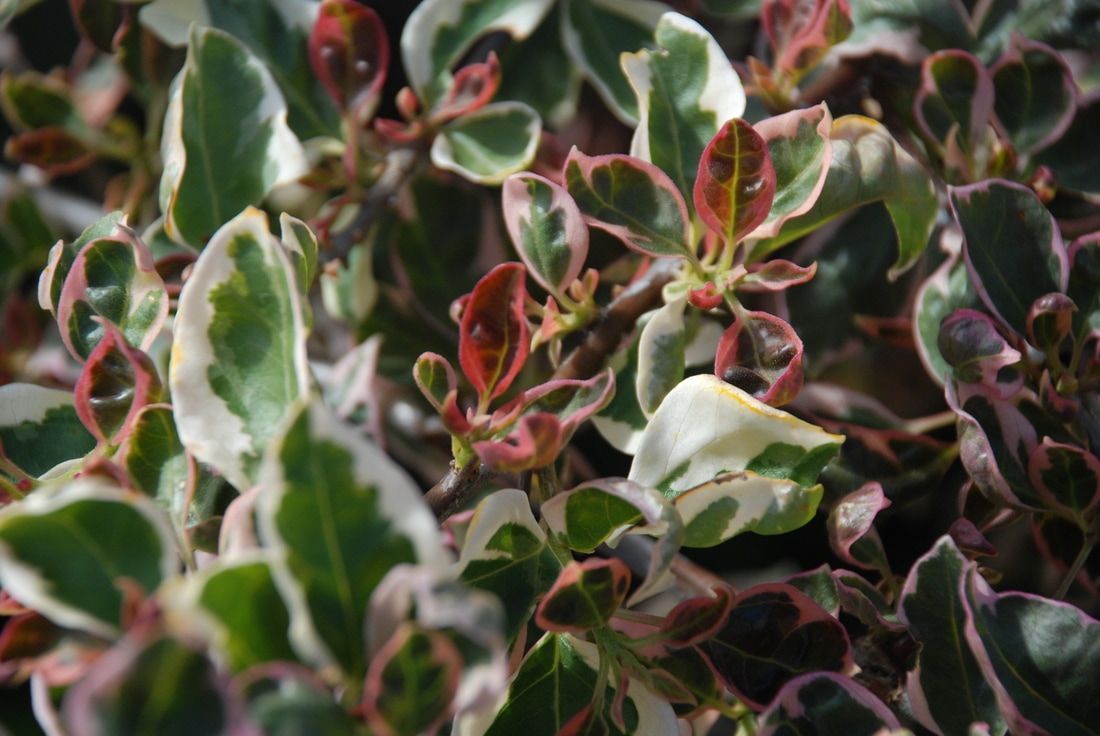
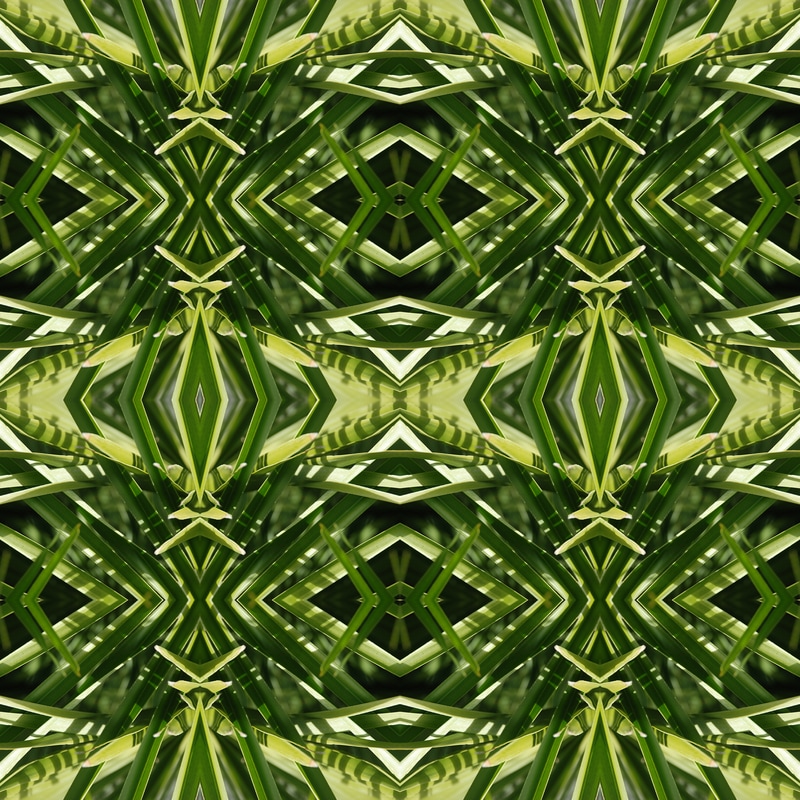
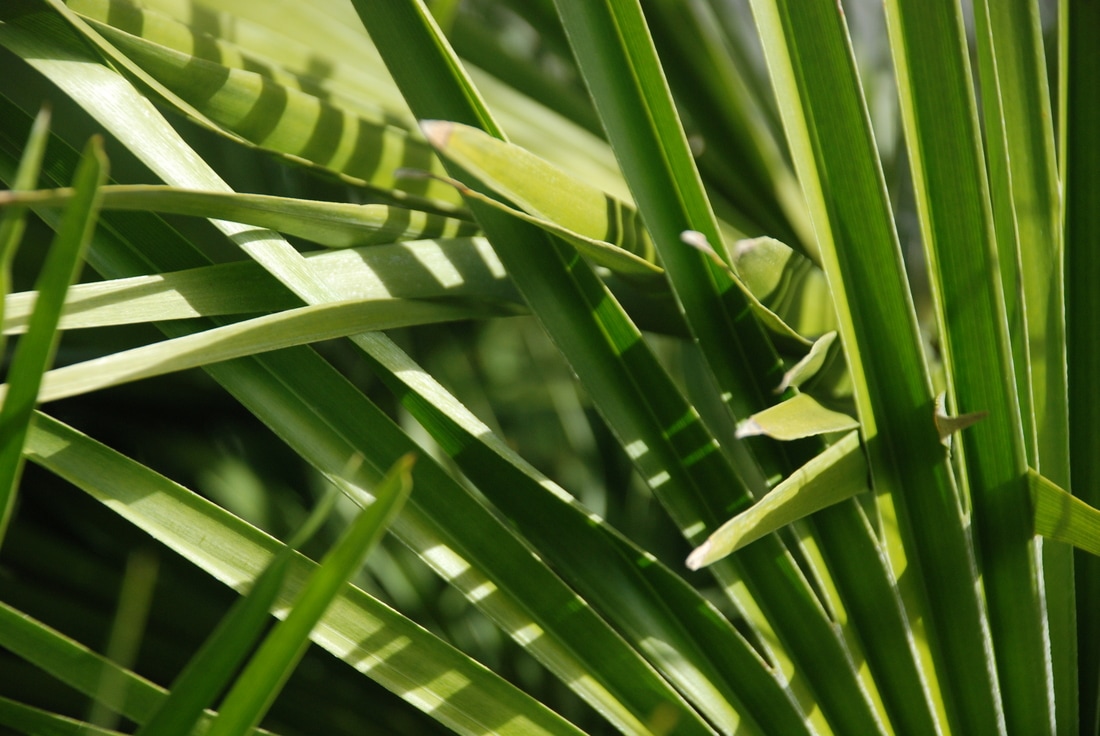
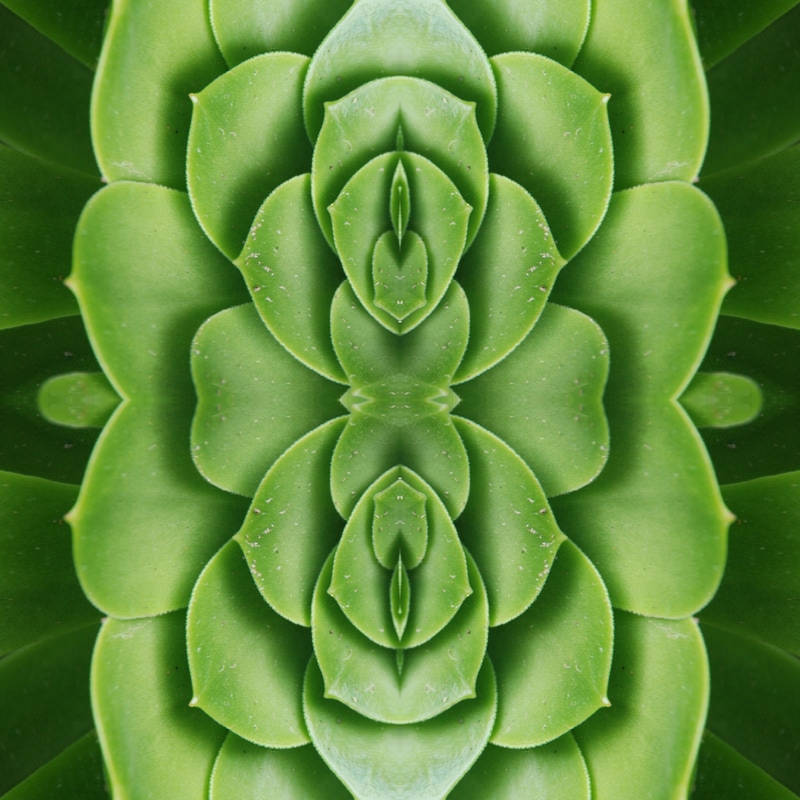
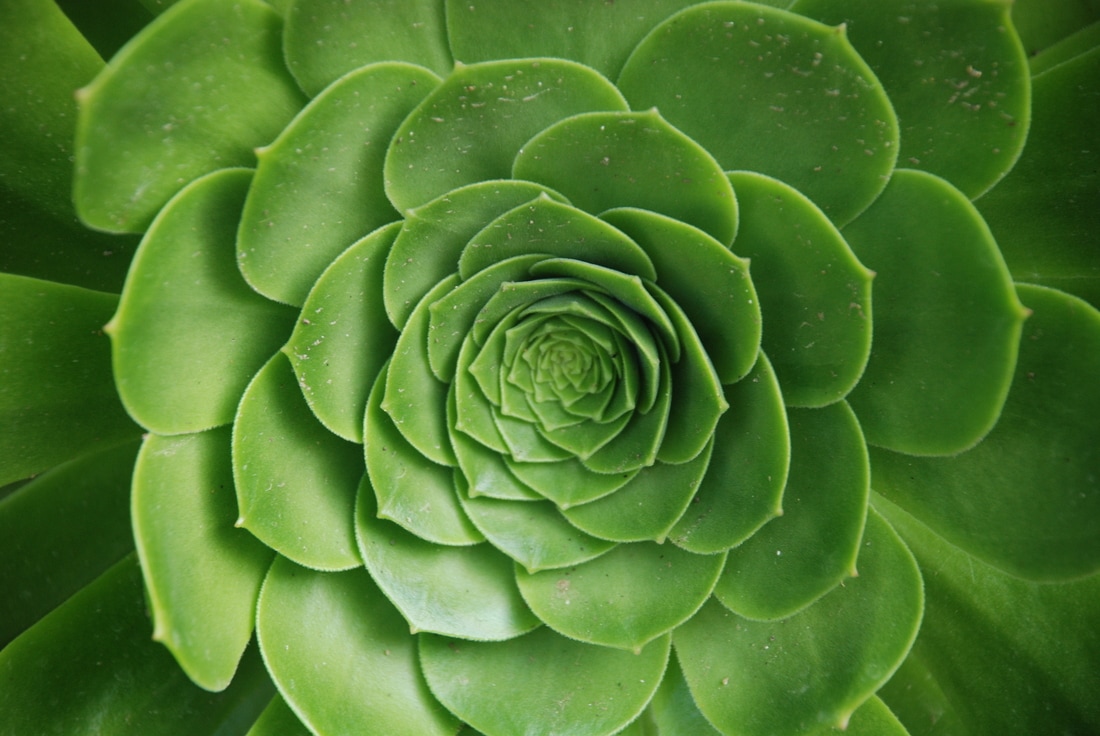
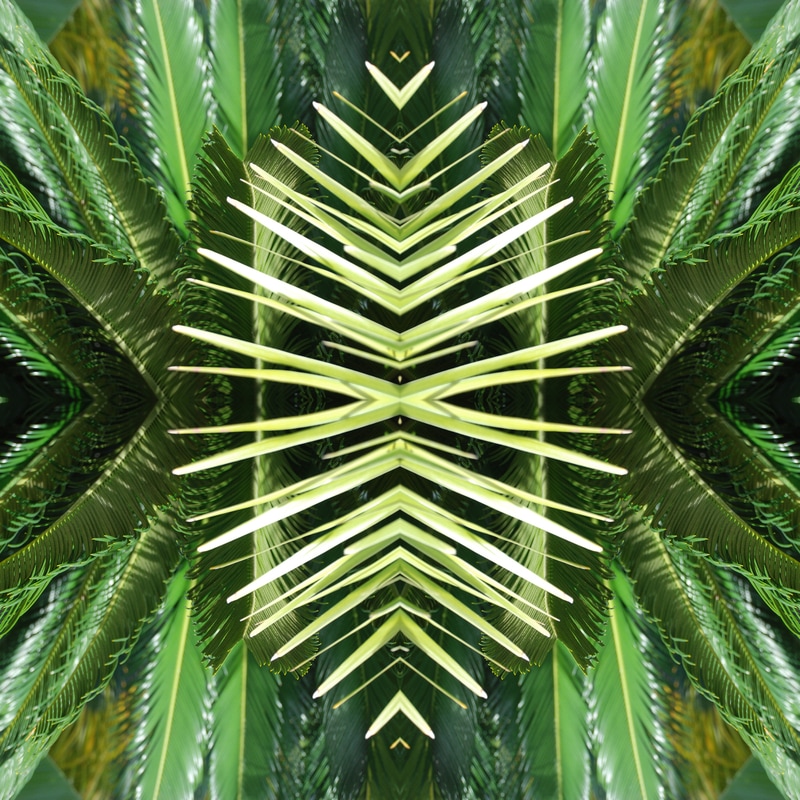
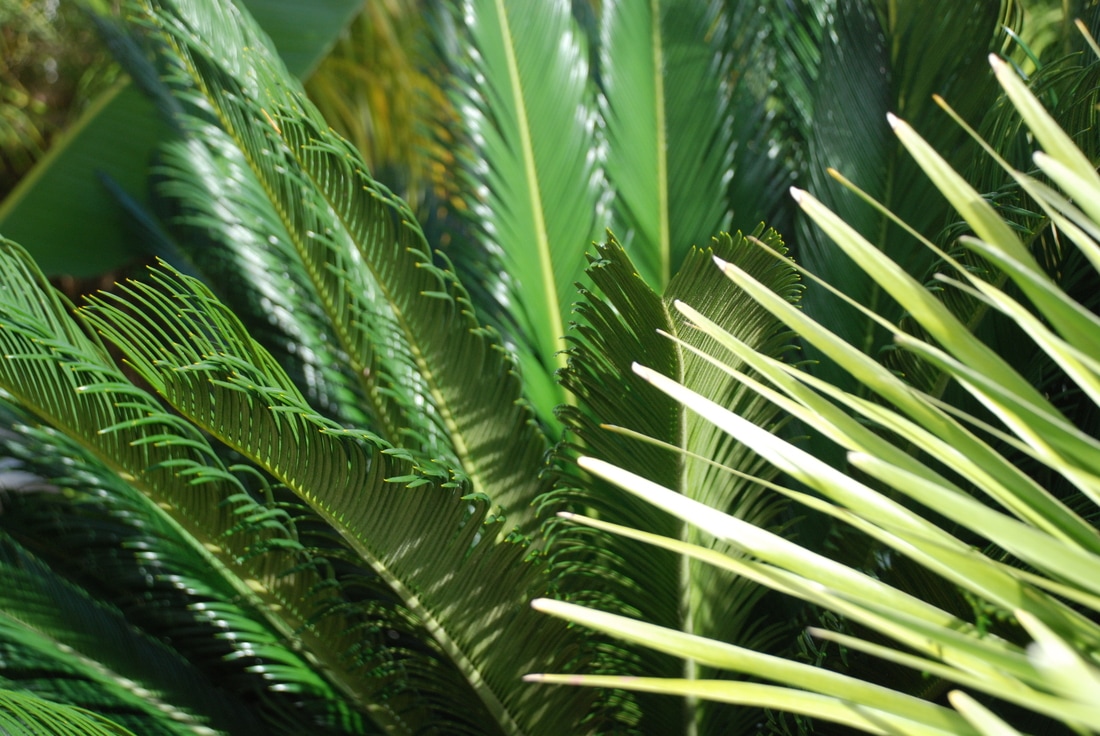
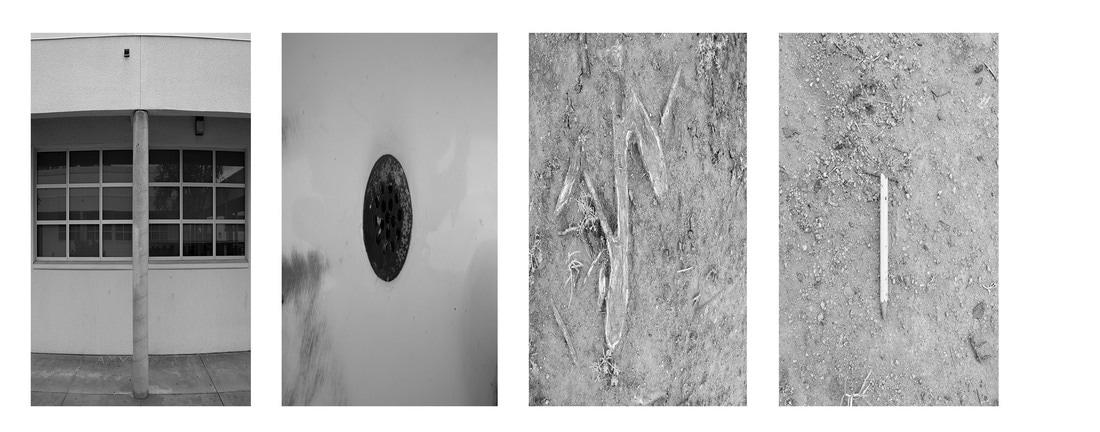
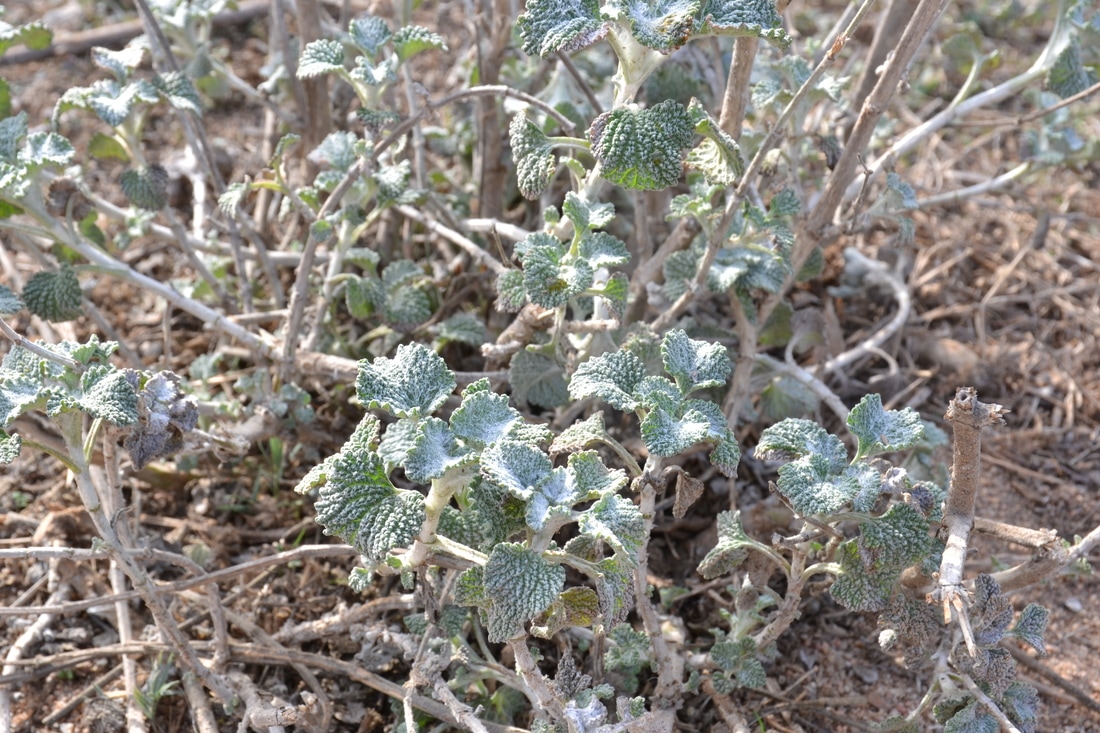
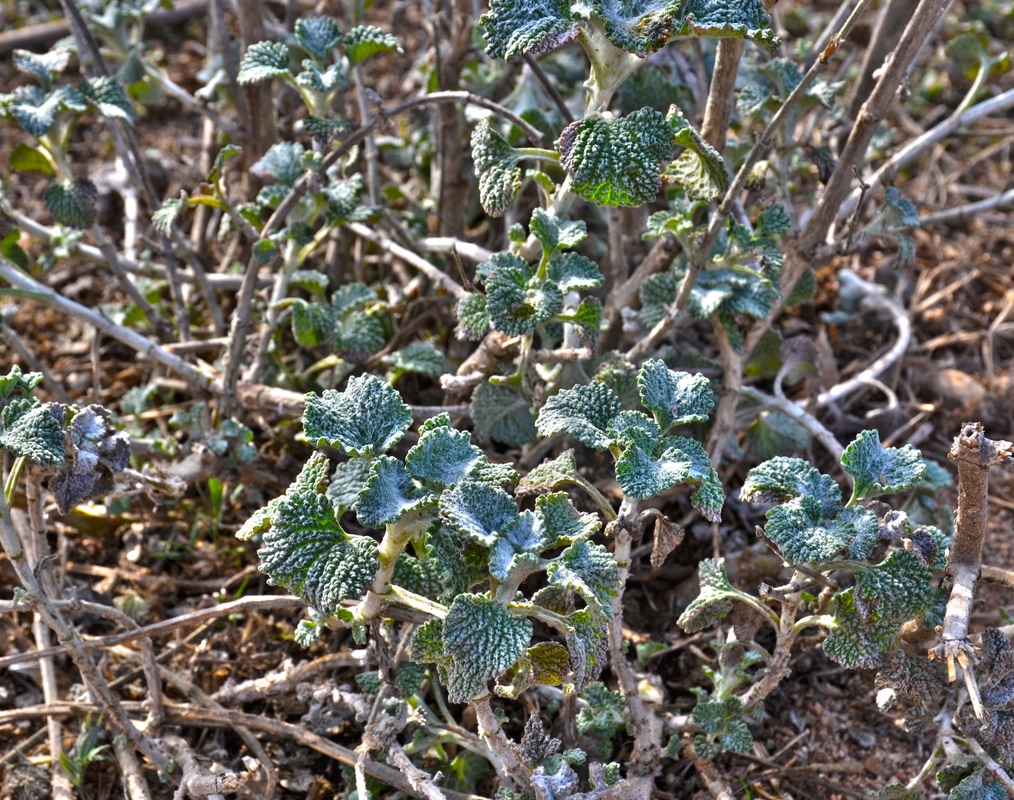
            Tessellations are a repeating pattern made by pictures that fit together with no gaps. The pictures or surface can be any shape but for this project I used square pictures with varying sizes. I started off by having my picture or background size be 8 inches. To make the tessellations I used a template with guides. To add guides if there is no template then you would choose view on photoshop and then hit new guide and enter at how many inches you would like your guide to be at. Repeat this until you have as many squares that you need for your tessellation. I then pulled up my picture that I wanted to be a part of the tessellation and I cropped it square around the specific part that I wanted to be in the tessellation. I then changed the image size to either 1 inch, 2 inches, or 4 inches depending on how big and how many pictures I wanted in the tessellation. I transferred the cropped and sized image onto my template and placed the image in a corner that I thought would be good to start the tessellation with. I then duplicated the layer of the picture and then flipped it or rotated it using edit transform to move the photo so it would make a repeating pleasing pattern. I repeated this until the tessellation template was full. I loved how the pictures transformed into a lovely pattern and how sometimes the original picture doesn't look like the tessellation. My favorite tessellation is the third one down because I love plants and I love the colors and contrast of colors that are in the picture. I struggled with choosing which photos to make into tessellations and I had a hard time choosing my favorite! I would probably just do more and take more photos so i could do more.
0 Comments
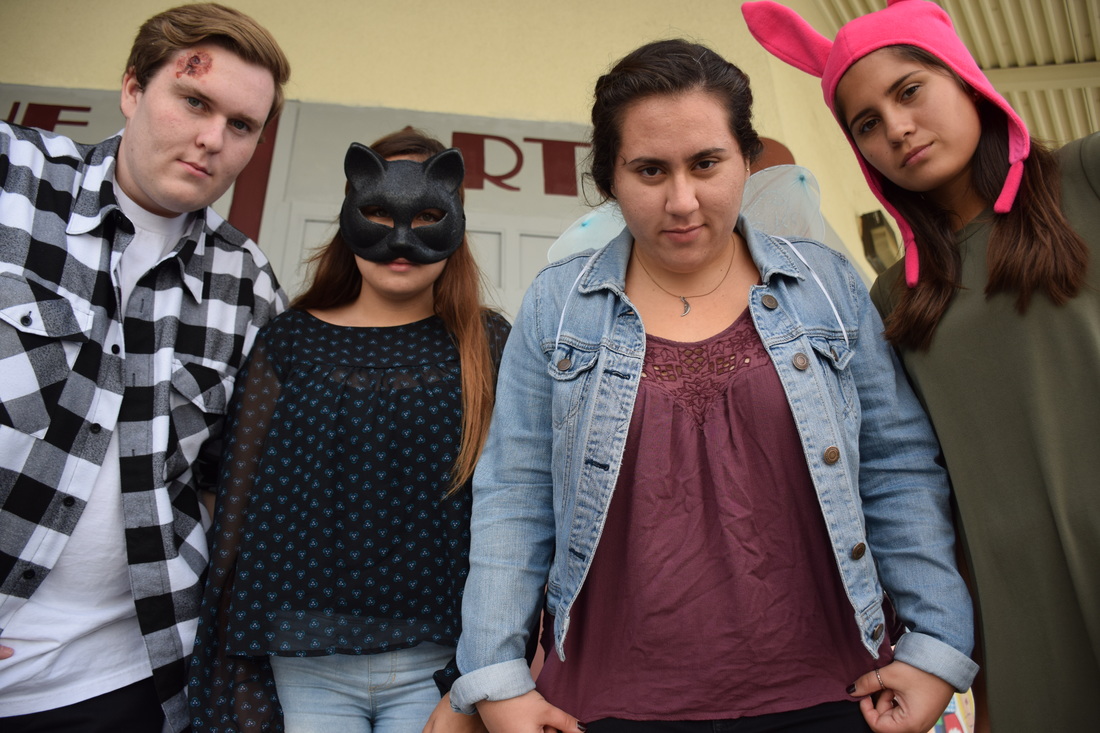
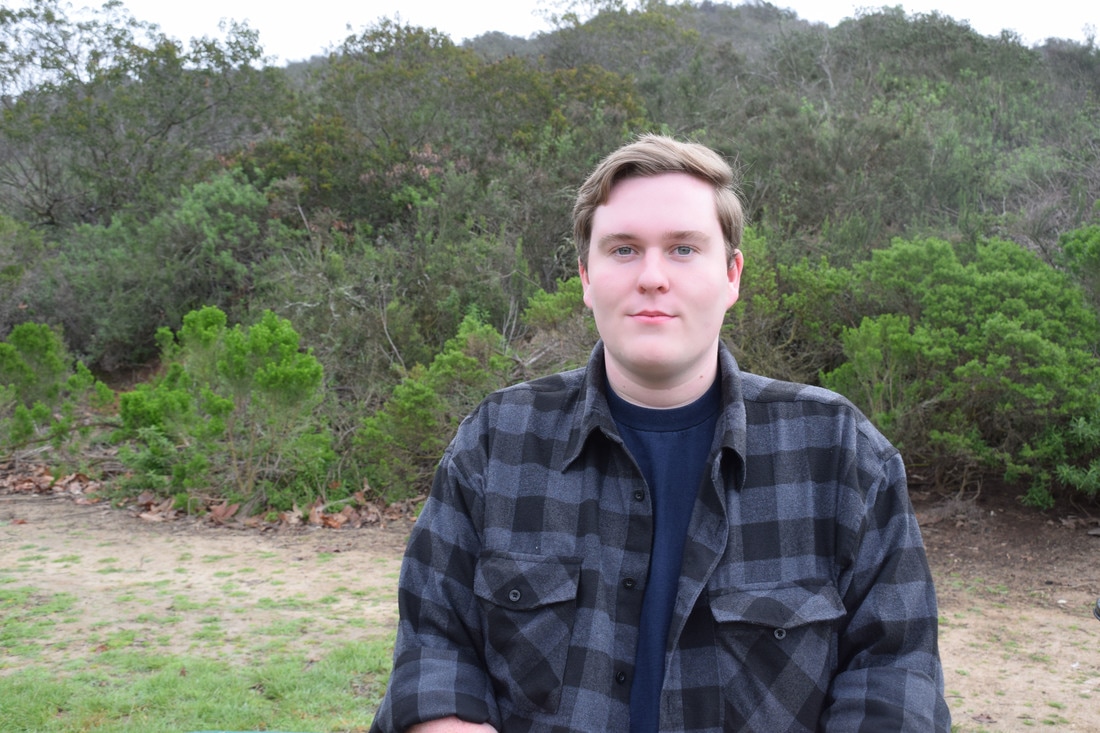 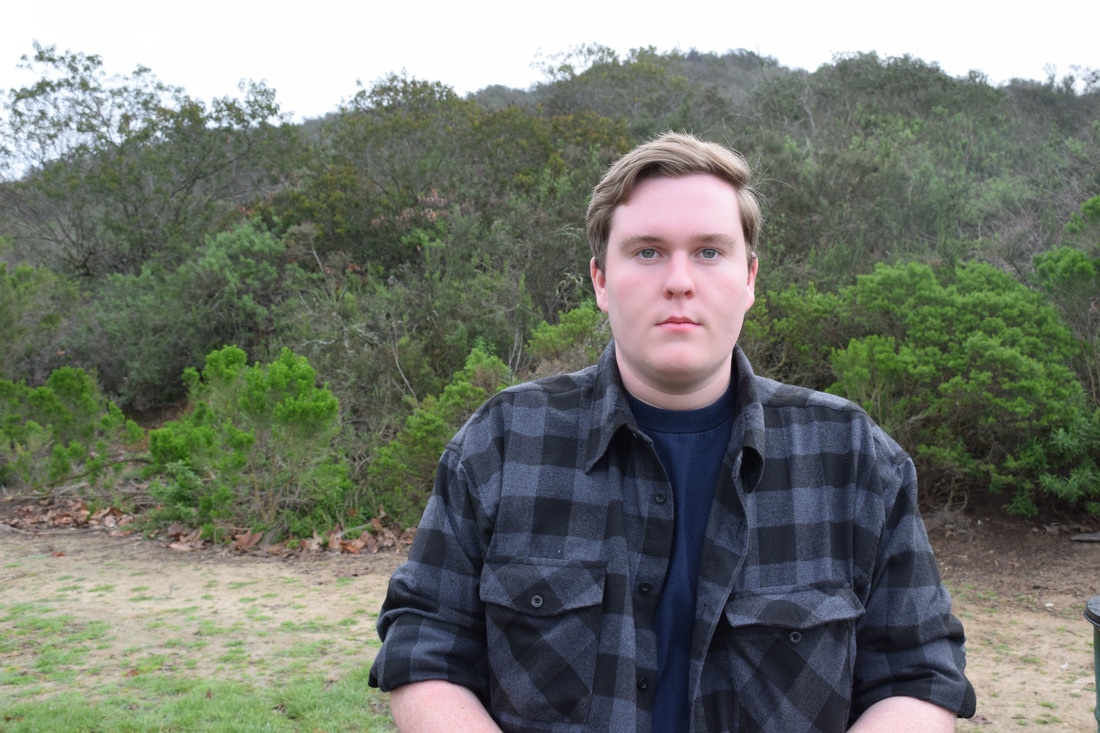 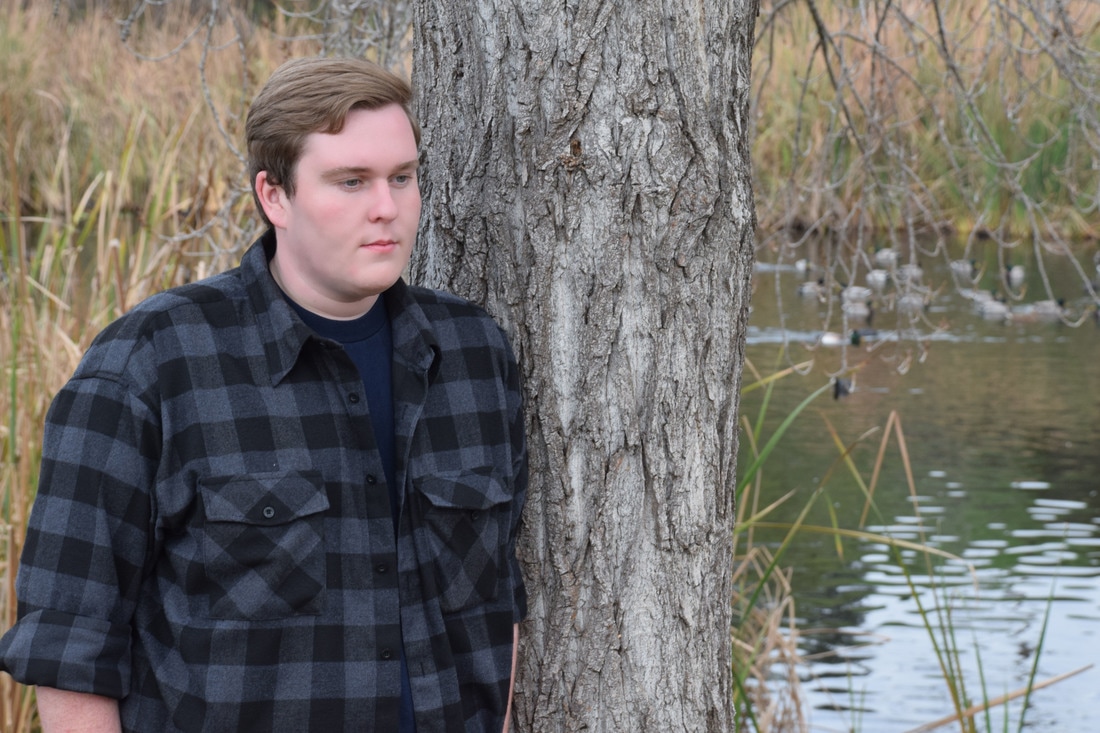 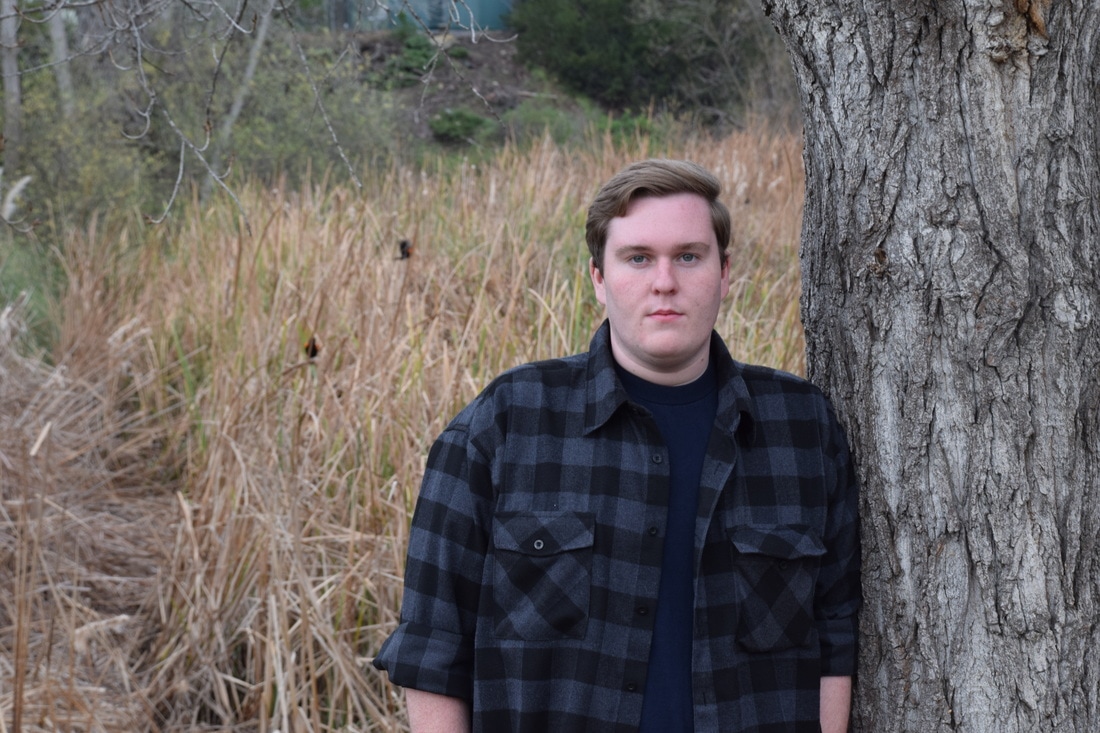 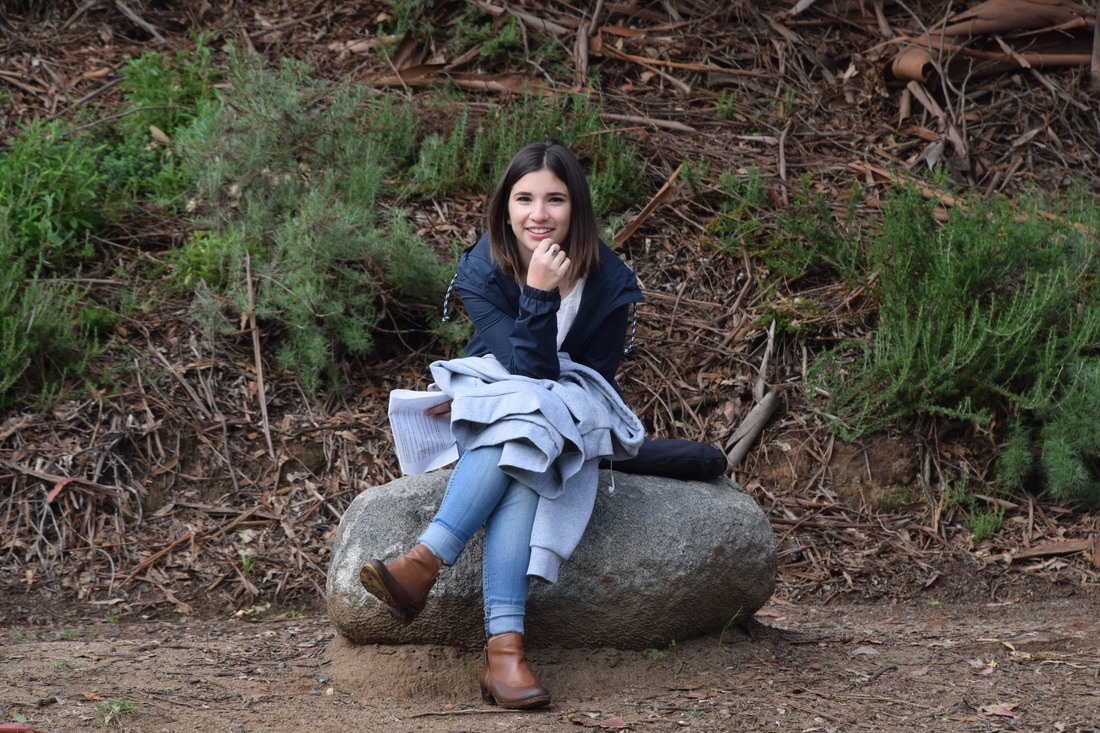 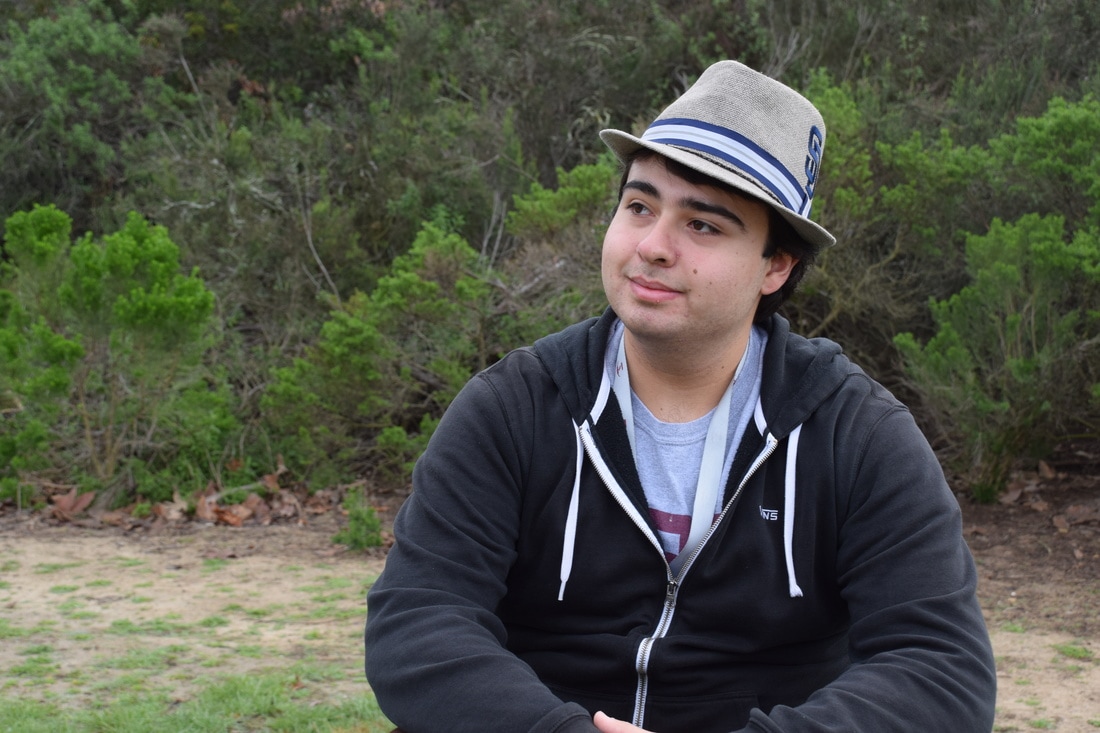 I learned the quality of portraits depend on the willingness of the subject and the photographer to work together. I also learned it takes a special eye to get good angles and pictures of someone. I mostly looked around the area and chose spots that I thought would make a good background or a good spot to ask my subject to go. From there I asked my subject to stand in the spot and do what felt natural and I gave them tips and helped them position themselves according to what looked from the camera's point of view. This was mostly helpful. I didn't use the reflector because the sun wasn't out.
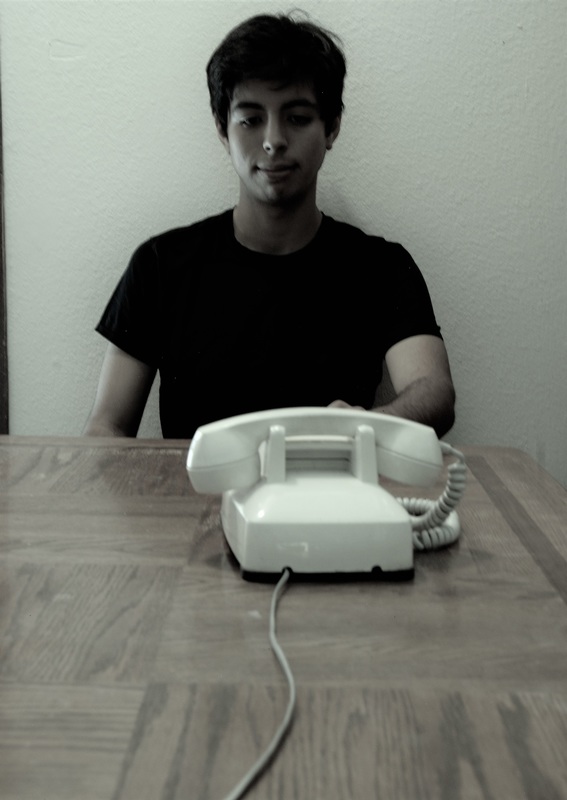
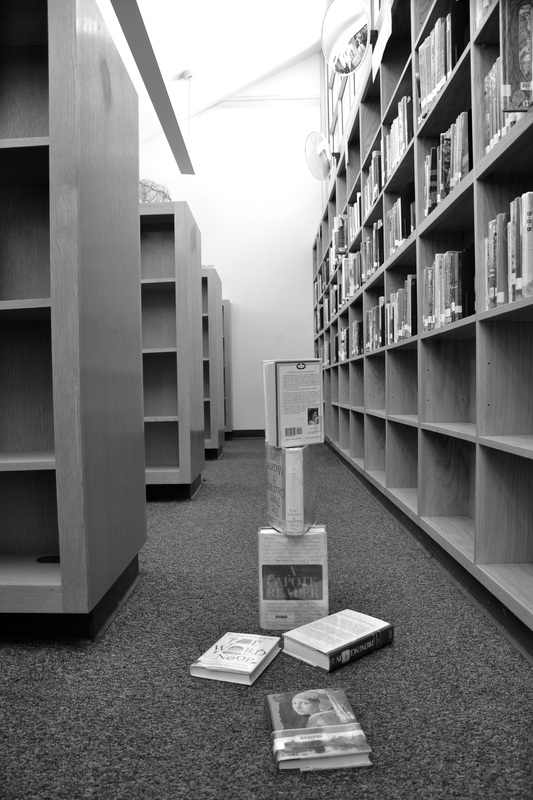
To retouch the photos, I uploaded each photo into photoshop. I then isolated the face and blurred it using the blur tool under filter. I retouched any blemishes using the spot healing tool and then added noise back to the photos. Any kind of life photographer such as a wedding photographer, will use this process to retouch photos. Also if you're into making ads you would use this process to make sure the people in the ad look good. New photographers might only charge around 25-75 dollars per hour but professionals might charge around 75-250 dollars per hour. 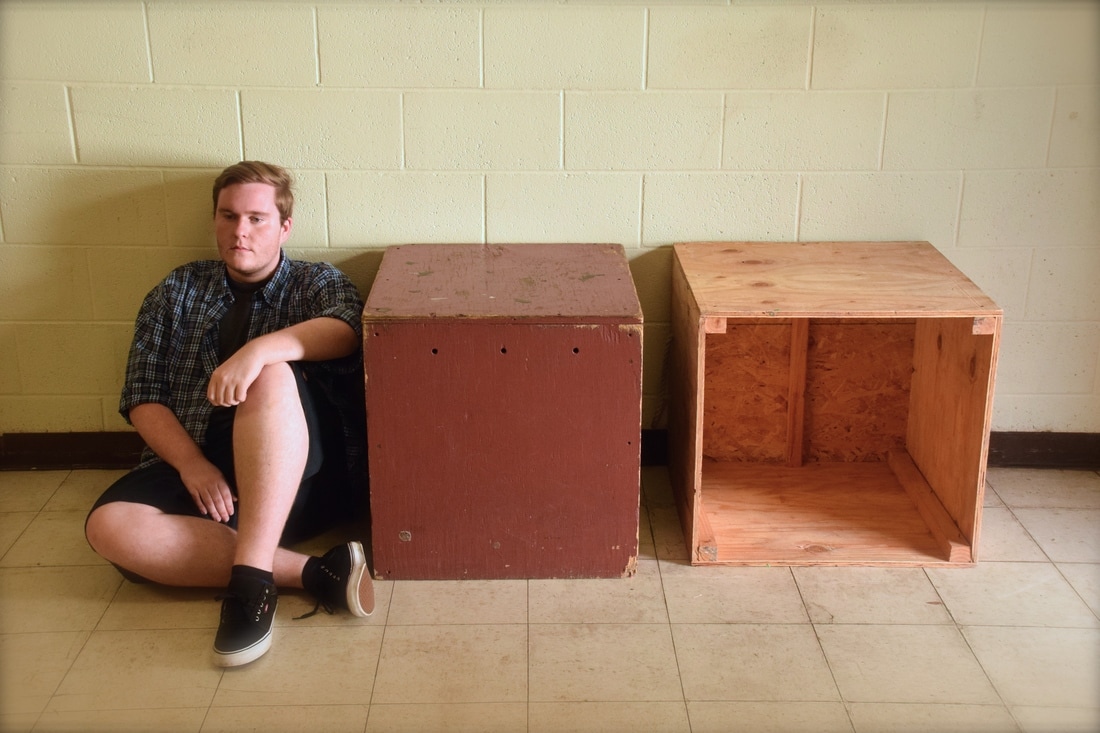 This photo is representative of how education can create molds to put students into and how this hurts students in the long run. Students feel pressured to fit in and go along with the struggles of school because they are told they must meet the standard or they must be able to reach a goal. Students learn in different ways and some have very specific talents.
I want this picture to be seen as a statement about the ways that students don't fit into the standard mold. I also want this picture to show that not everyone fits into the mold and that is ok. Education should be for all. Even if a student doesn't fit into the mold they should not be forgotten. Every student is important. Even though the man in the picture doesn’t fit into the mold, he is still worthy of education. For all the people who feel they don’t belong in a classroom, this picture is a representative of those feelings and the fact that they are not alone. Education should be for every student, no matter the situation or specific qualities of a student. 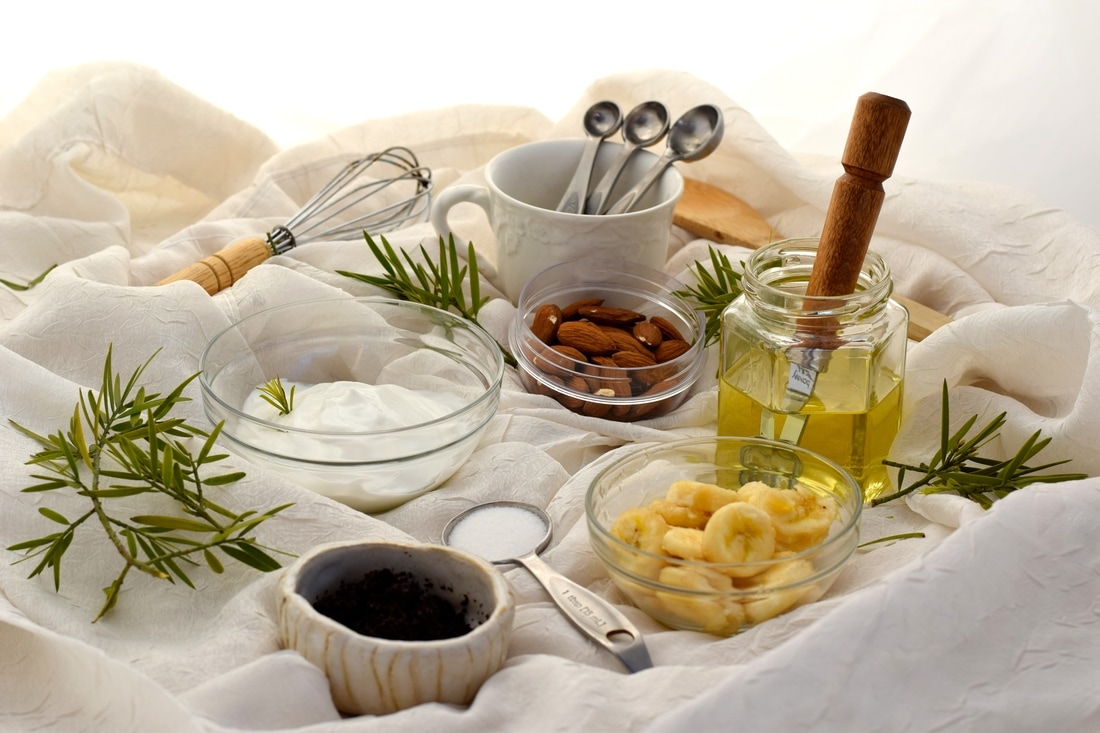 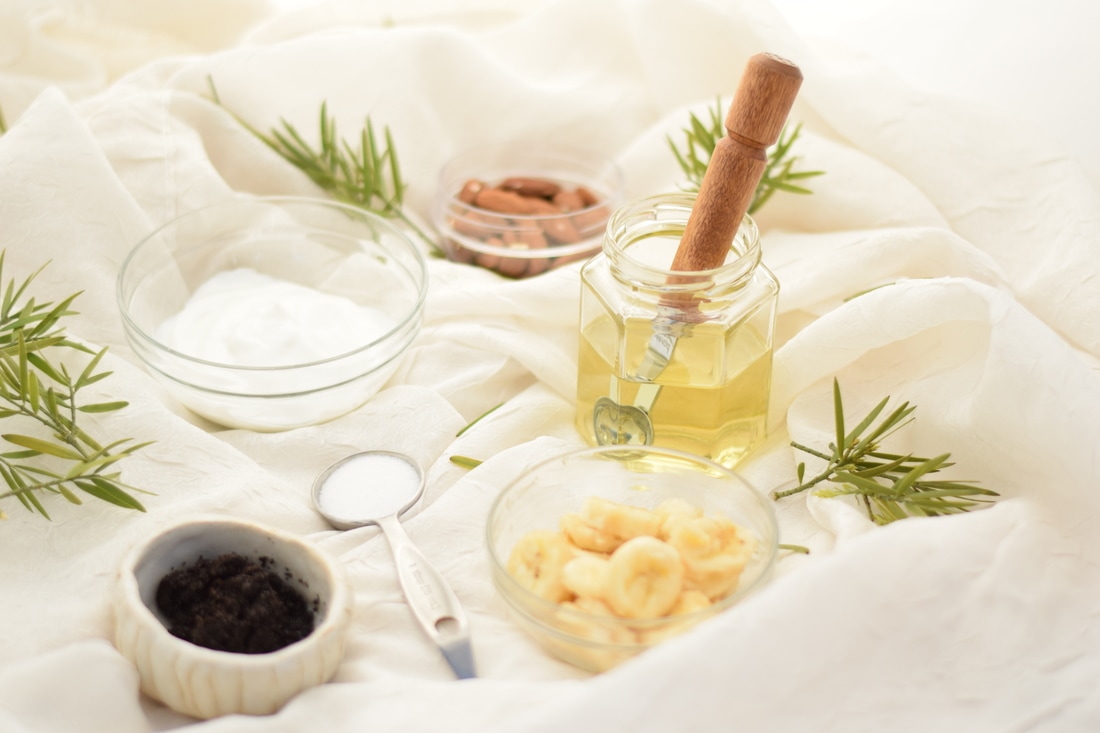 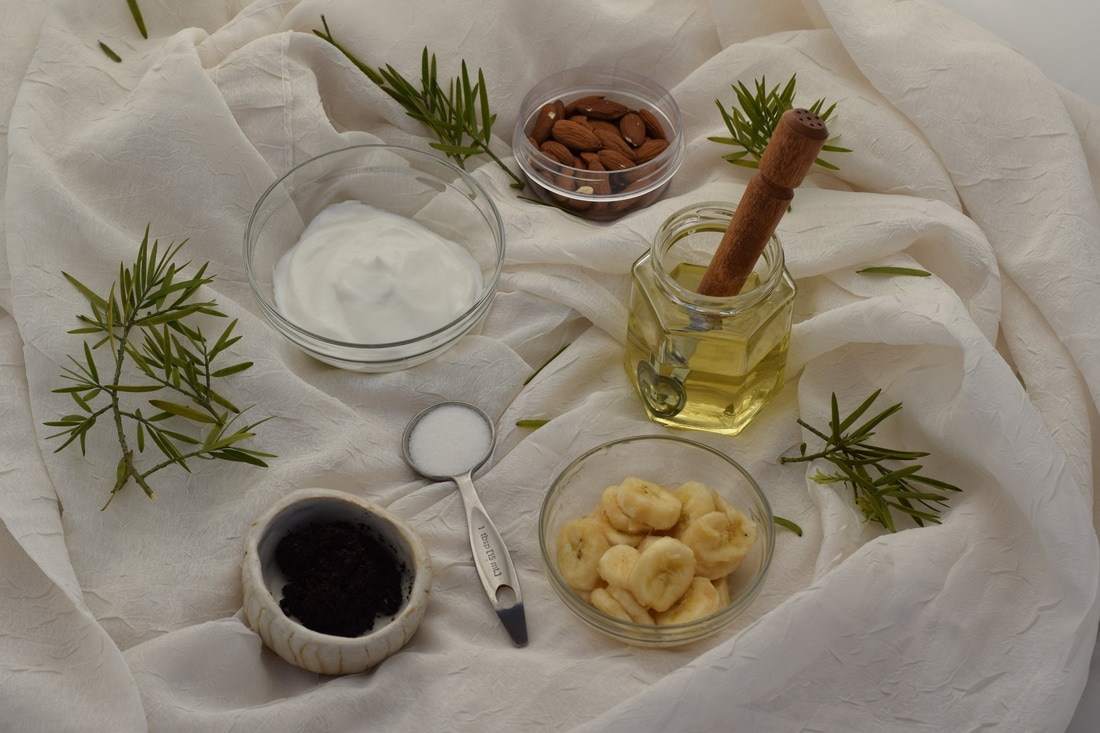 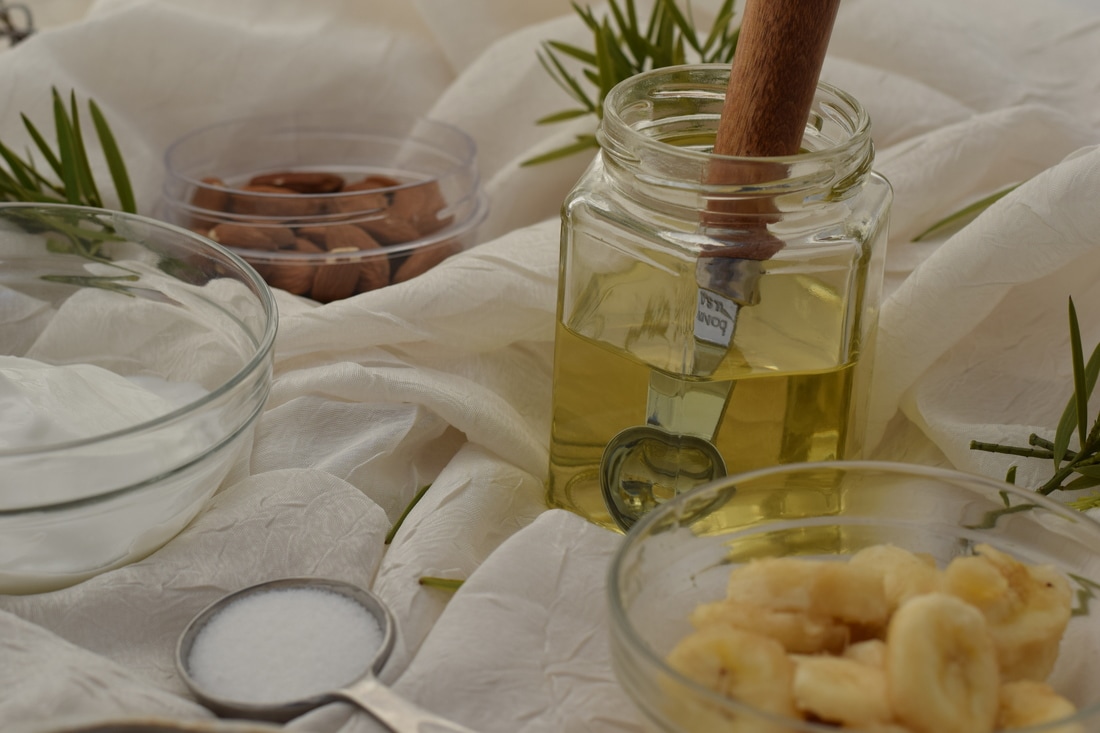  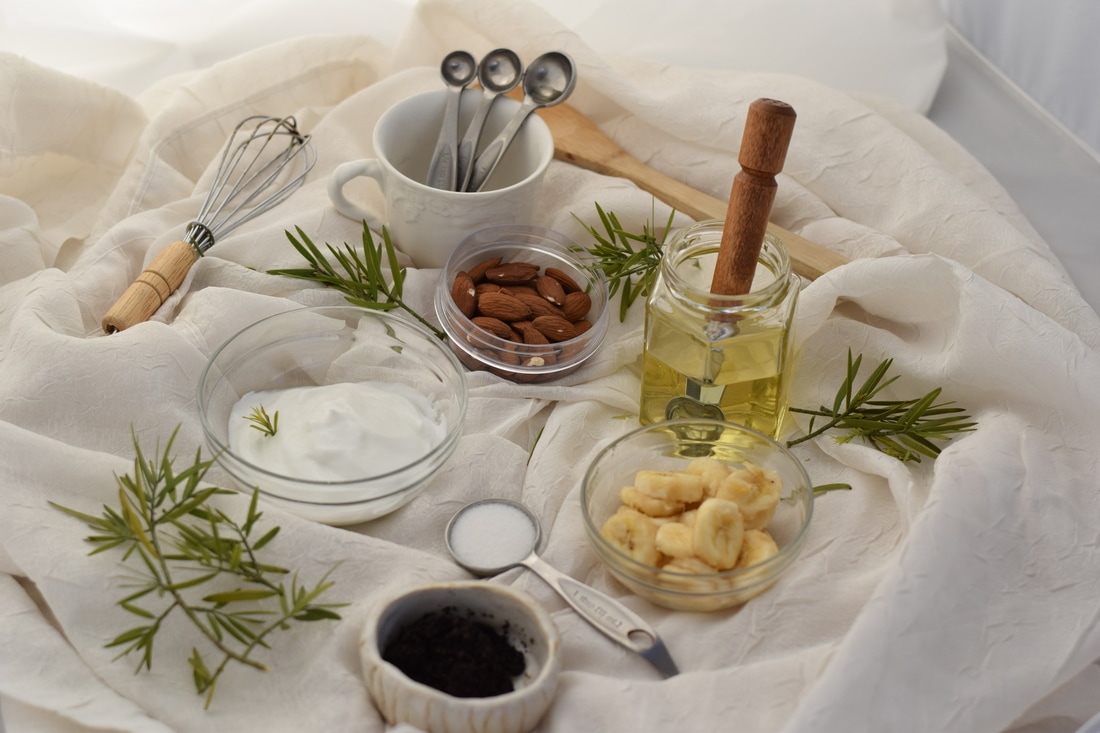 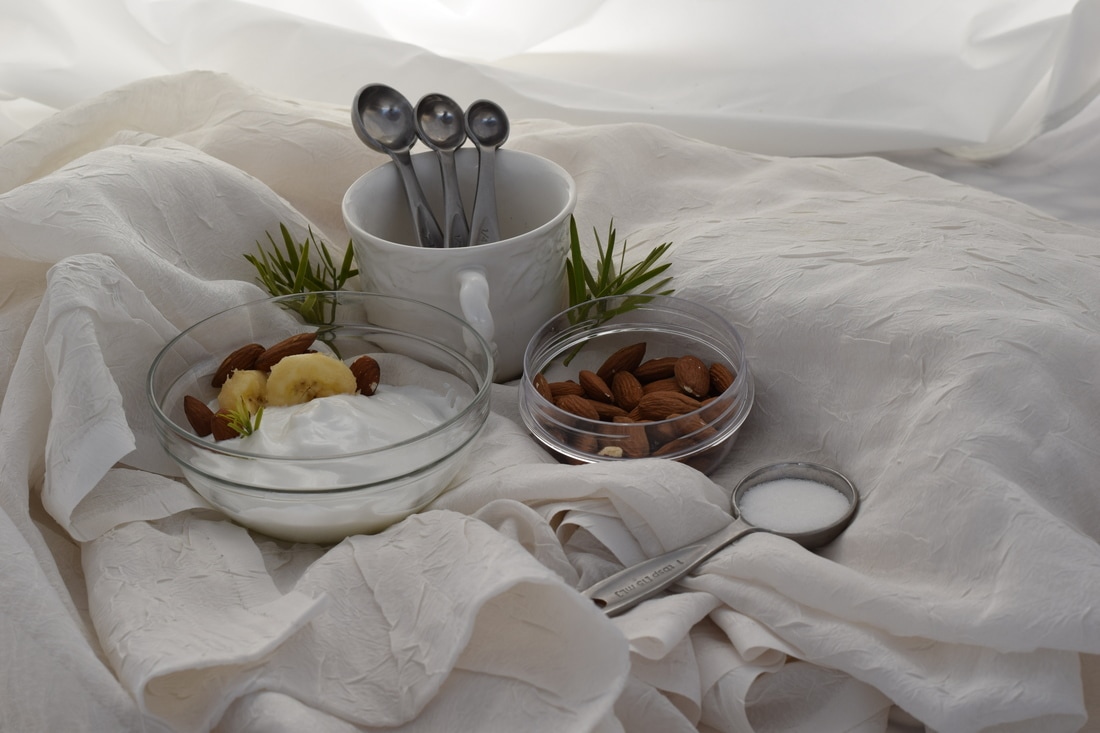 For food photography, I brought yogurt, sliced bananas, salt, coffee grounds, almonds, oil, and glass bowls and a few utensils such as a wooden handled spoon and a whisk. I included the leaves in my picture to add color outside of the food and to appeal to a natural feeling in the photo. I tried my best to replicate the style of the photo that I chose to replicate by making the photo white and bright. I also included all the ingredients and used the same amount of bowls. I used leaves like the original picture had. I learned that food needs to be set up specifically to look appetizing and pretty. Food on its own is not something that is heavily photogenic. I also learned that lighting heavily affects how the food shows up in the photos. The last thing I learned is that creating an aesthetic picture is an art beyond taking the photo.
 To make this photo I used a template and I placed the four photos onto the template. I had to edit the photos to black and white to make them all look similar. After i added the photos I had to size them and crop them to make the letters look
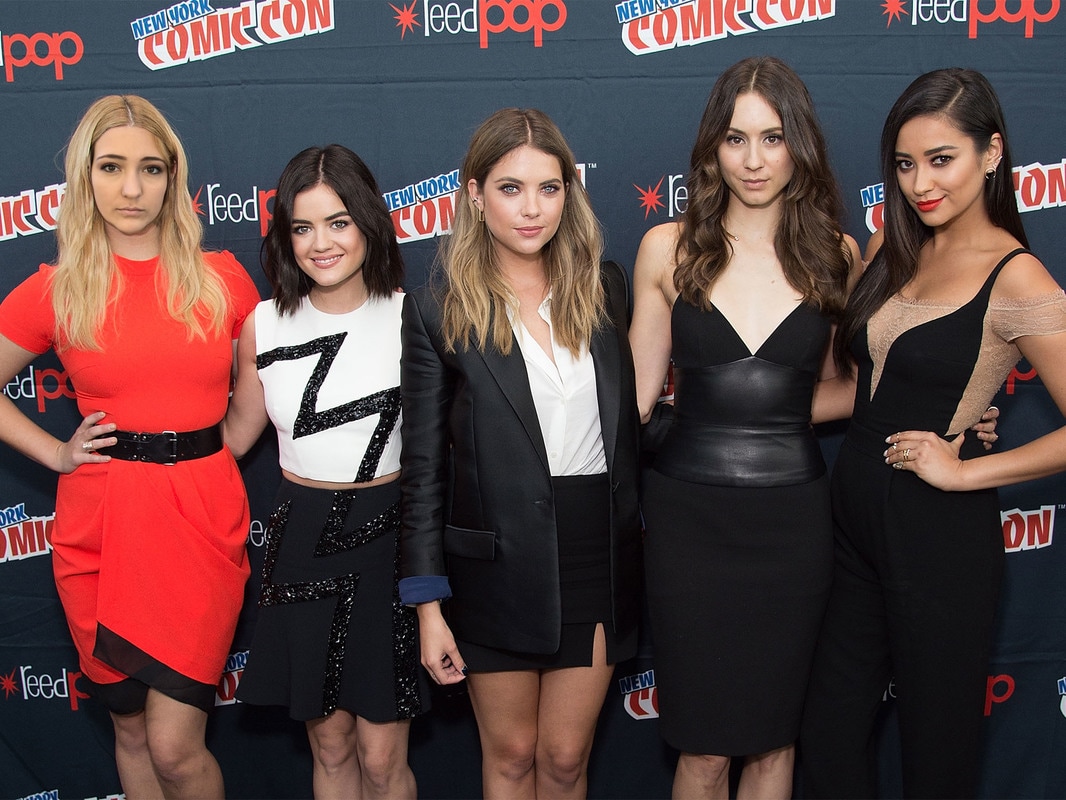 In this photo, I put my face on Sasha Pieterse from the show Pretty Little Liars. In the show i play the character Alison. I am with the other members of the show Lucy Hale who plays Aria, Ashley Benson who plays Hannah, Troian Bellisario who plays Spencer, and Shay Mitchell who plays Emily. We are all attending Comic Con.  This is me in 10 years working as a florist in Oregon state. I love plants and nature and the woody areas of Oregon provide me with a green lush environment. I'm working as a florist in a mountain village similar to Big Bear. I create beautiful arrangements of flowers and often coordinate flowers for weddings and special events. To edit my face onto these pictures, I opened the original picture onto photoshop and then took an outline of my face and dropped it onto the original picture. I scaled my face to make it the same size of the faces that I was putting my face onto. I rotated it and made sure it fit the face that I was going to be putting mine on top of. I had to match the skin color of my face to the rest of the persons neck and body so that my face wouldn't be a different color. I then had to trim up the edges so that it looked like my face was blended into the persons body and not placed harshly like a copy and paste.
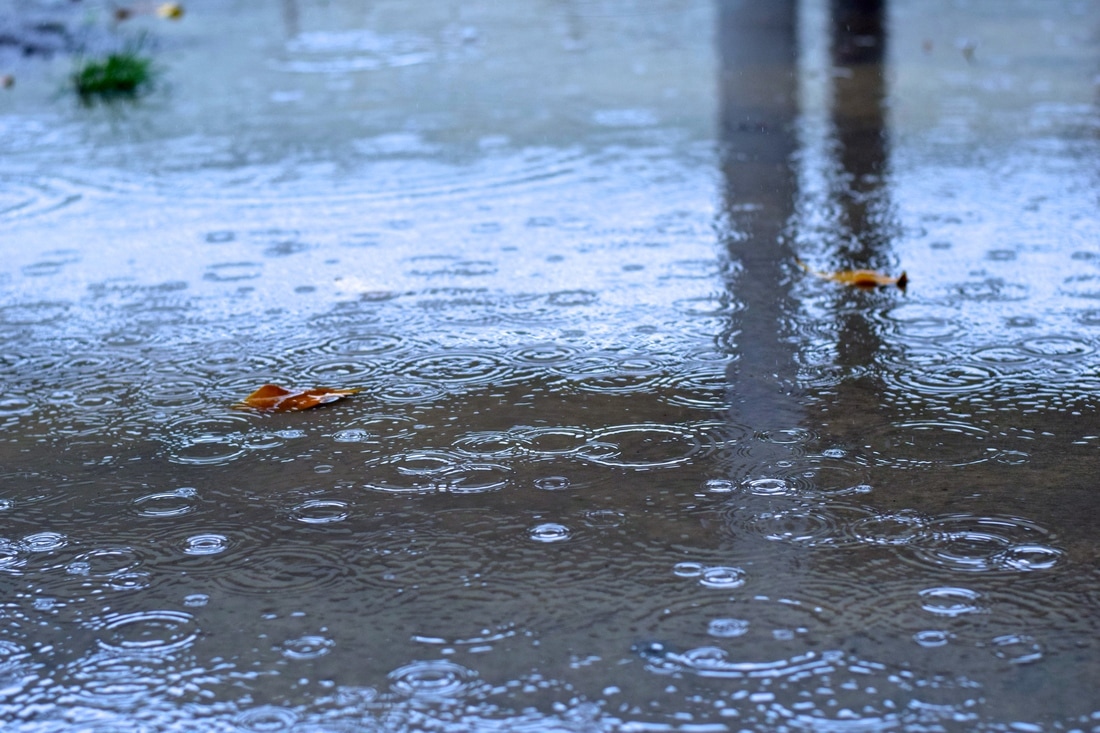
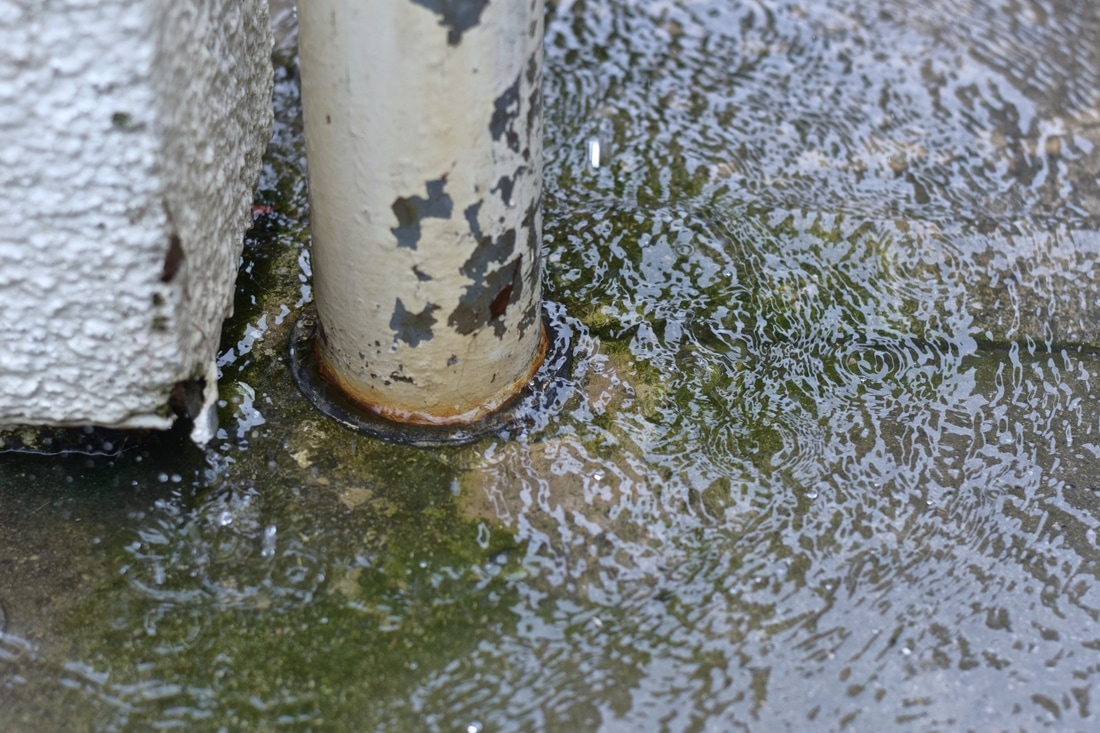
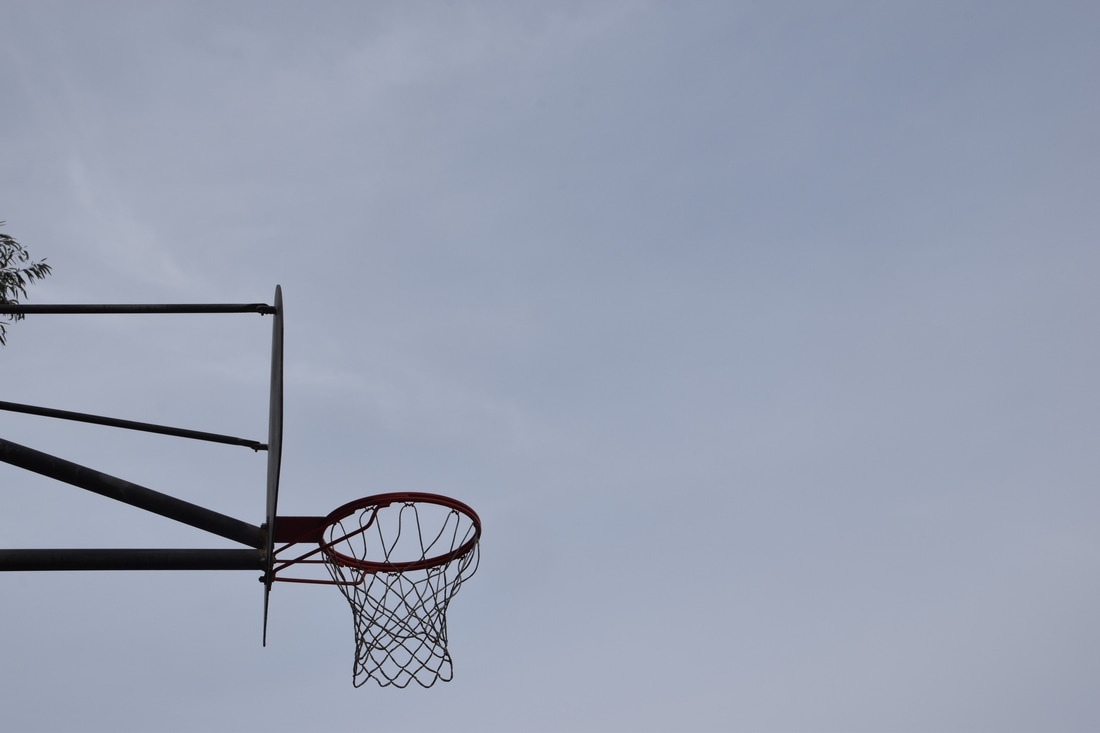
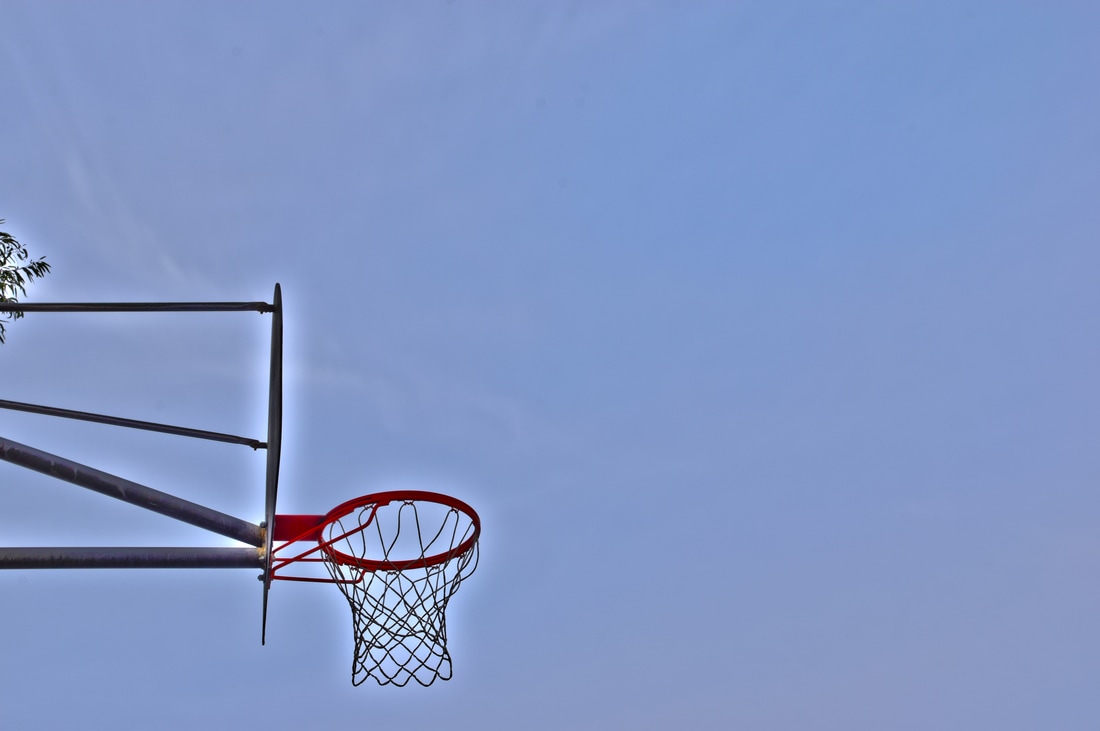
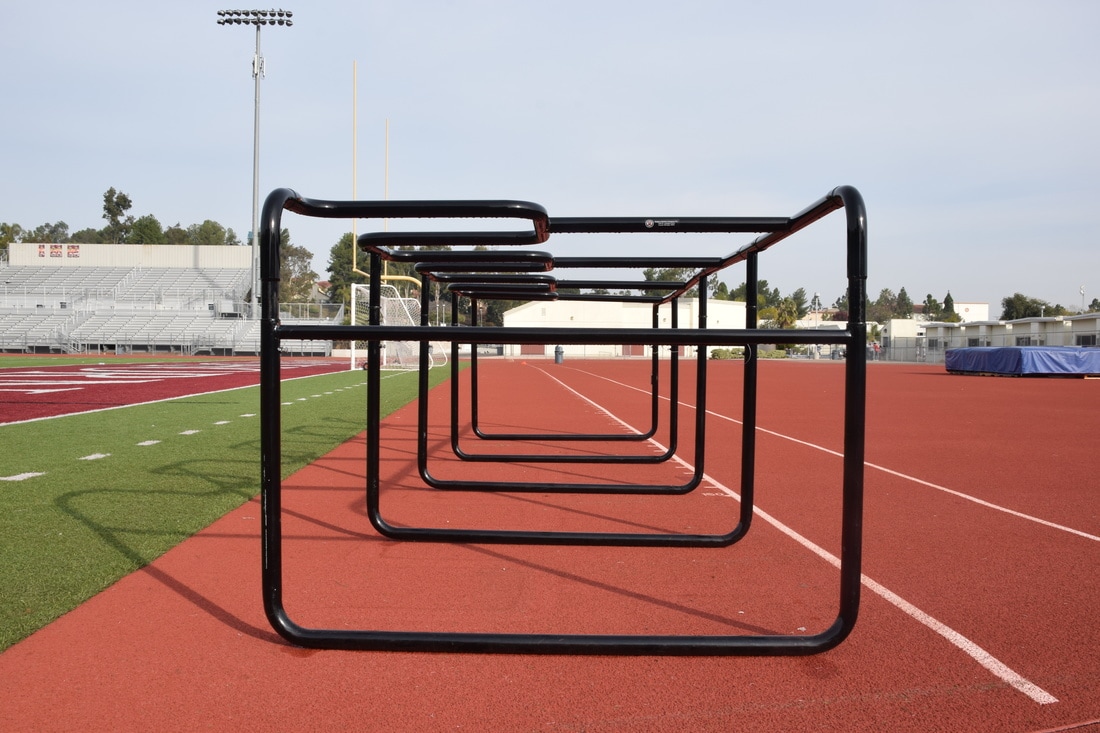
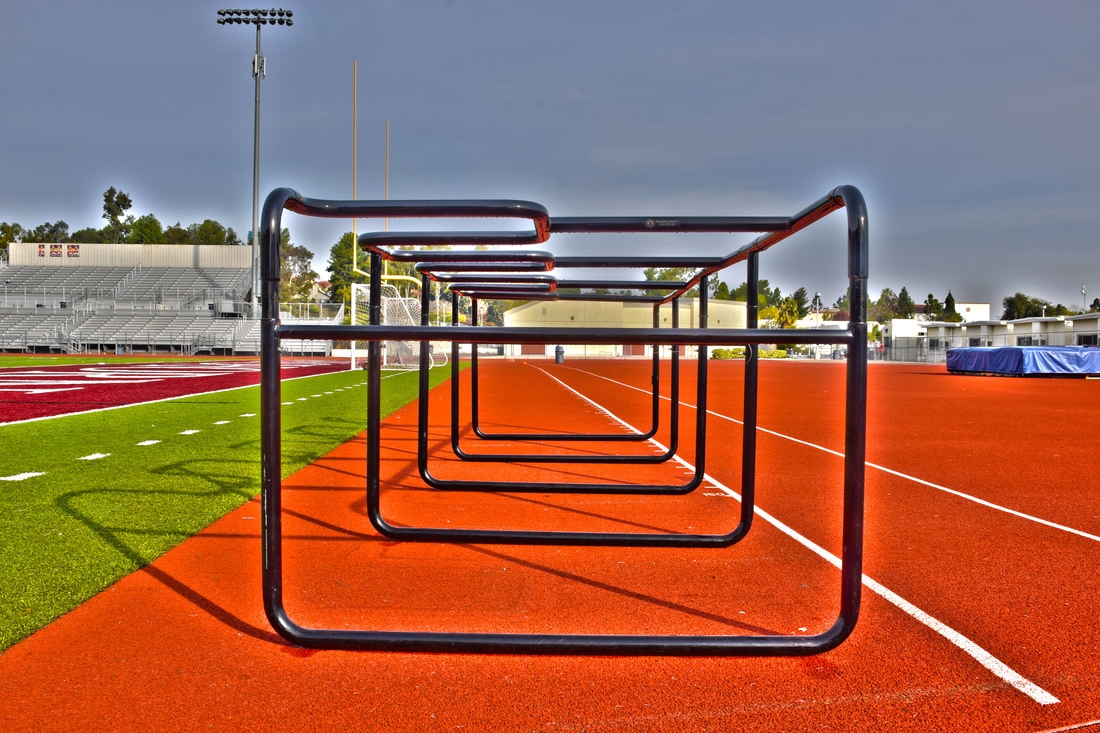
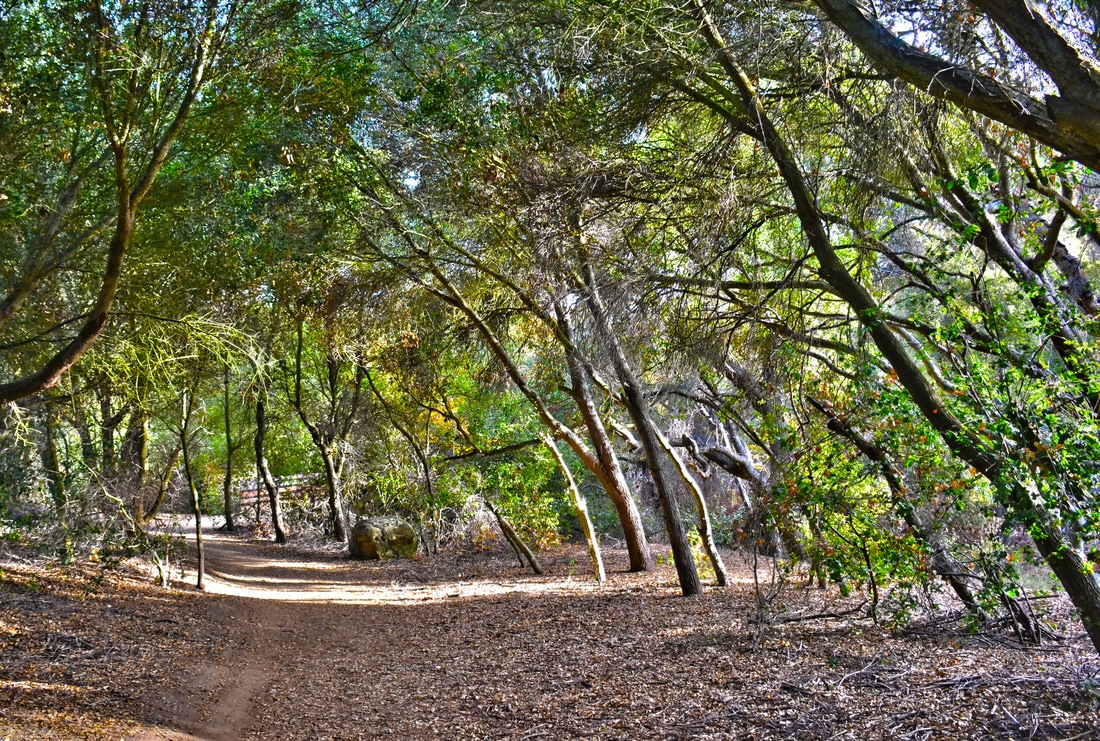
 ISO 400. Aperture f/ 3.5. Shutter Speed 1/800 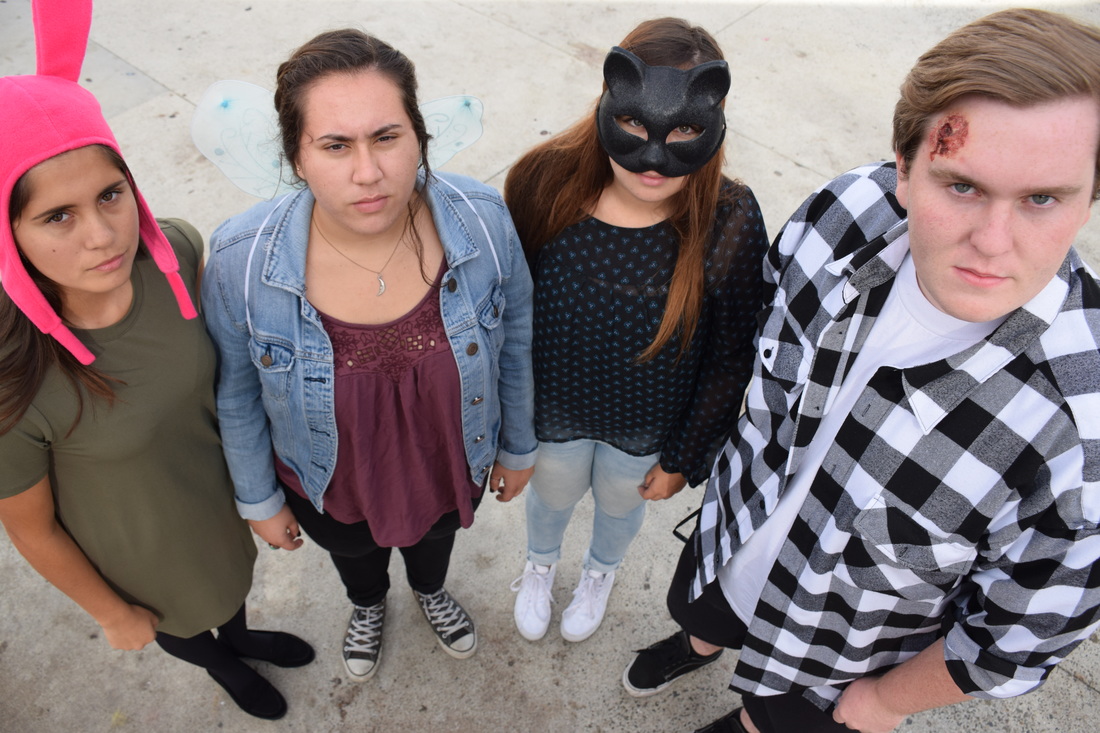 ISO 400. Aperture f/ 5.6. Shutter Speed 1/800. |
AuthorMy name is Tori Leavitt, I am in a photography class, and welcome to my blog and thank you for checking it out! |
 RSS Feed
